
Essential Guide to Driveway Sealing in Newmarket: Protect Your Investment and Enhance Curb Appeal!
Essential Guide to Driveway Sealing in Newmarket: Protect Your Investment and Enhance Curb Appeal!
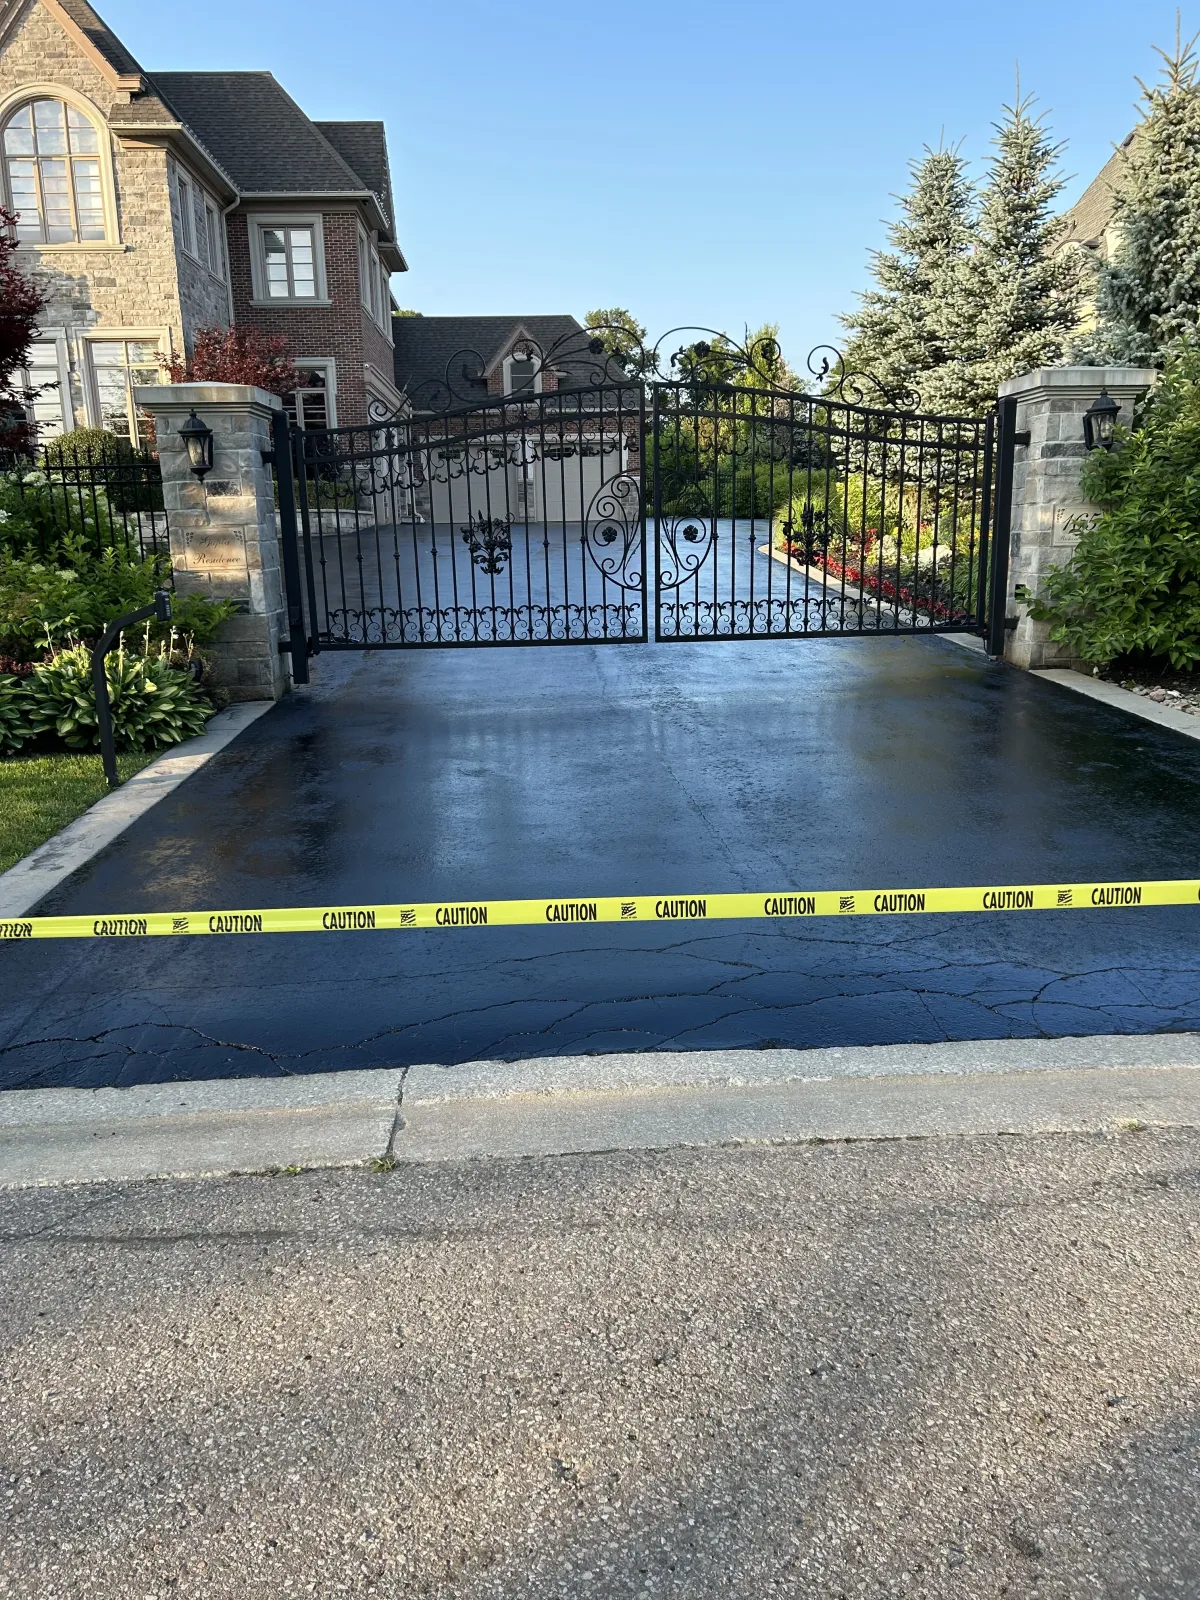
Your driveway is more than just a pathway to your home; it's an essential part of your property's first impression. In Newmarket, driveway sealing is a vital step to protect this investment from harsh weather and daily wear and tear. As seasons change, the elements can take a toll on your asphalt, leading to cracks and deterioration that not only diminish its functionality but also impact your home’s curb appeal. In this essential guide, we will walk you through the ins and outs of driveway sealing—why it's necessary, how to do it yourself or find a professional, and the benefits of maintaining a sealed driveway. Whether you're looking to enhance your home's aesthetic or extend the life of your driveway, understanding the importance of sealing can save you money in the long run. Let’s dive into the world of driveway care and uncover the secrets to keeping your approach inviting and robust!
Importance of Driveway Sealing for Homeowners

Driveways endure a significant amount of wear and tear, from the constant pressure of vehicles to the damaging effects of weather. In Newmarket, where the climate can be particularly harsh, the freeze-thaw cycle poses a serious threat to the integrity of your asphalt driveway. Without proper maintenance, small cracks can develop into larger fissures, leading to costly repairs or even the need for a complete driveway replacement. Driveway sealing acts as a protective barrier, shielding your pavement from the elements and extending its lifespan.
Moreover, a well-maintained driveway significantly enhances the aesthetic appeal of your home. First impressions matter, and a pristine driveway can set the tone for the rest of your property. Whether you plan to sell your home or simply want to enjoy a well-kept exterior, sealing your driveway is an essential step in boosting curb appeal. It shows that you take pride in your home and are attentive to its upkeep.
Additionally, driveway sealing is not just about aesthetics and longevity; it's also about safety. Cracks and potholes can pose a tripping hazard to family members, guests, and even pets. By sealing your driveway regularly, you ensure a smooth, even surface that reduces the risk of accidents. This simple maintenance task can prevent injuries and provide peace of mind, knowing that your driveway is safe for everyone who uses it.
Benefits of Sealing Your Driveway
Sealing your driveway offers a multitude of benefits that extend beyond mere appearance. One of the most significant advantages is the prevention of water infiltration. Water is a driveway's worst enemy, as it seeps into cracks and expands during freezing temperatures, causing further damage. A sealed driveway repels water, minimizing the risk of freeze-thaw damage and prolonging the structural integrity of your pavement.
Another key benefit is protection against harmful UV rays. Asphalt driveways are particularly susceptible to sun damage, which can cause the surface to become brittle and prone to cracking. Sealing your driveway provides a layer of protection against UV radiation, helping to maintain its flexibility and resilience. This not only prevents cracks but also keeps your driveway looking fresh and new for longer.
Furthermore, driveway sealing helps to resist stains from oil, gas, and other automotive fluids. These substances can not only mar the appearance of your driveway but also weaken the asphalt over time. A sealed surface makes it easier to clean up spills and prevents them from penetrating the pavement. This keeps your driveway looking clean and well-maintained, enhancing the overall appearance of your property.
When to Seal Your Driveway: Timing and Frequency
Determining the right time to seal your driveway is crucial for maximizing the benefits of this maintenance task. Generally, it's recommended to seal a new driveway after it has cured for at least six months. This allows the asphalt to harden and settle properly before applying a sealant. For existing driveways, sealing should be done every two to three years, depending on the level of wear and environmental conditions.
The best time of year to seal your driveway is during the warmer months, ideally when temperatures are consistently above 50 degrees Fahrenheit. This ensures that the sealant can cure properly, forming a durable protective layer. In Newmarket, late spring to early fall is typically the optimal time for driveway sealing. Avoid sealing during rainy periods, as moisture can interfere with the curing process and compromise the effectiveness of the sealant.
It's also important to consider the condition of your driveway before sealing. If there are significant cracks, potholes, or other damage, these should be repaired prior to sealing. Applying sealant over damaged areas will not address the underlying issues and can lead to further deterioration. By addressing any repairs first, you ensure that the sealant can provide optimal protection and prolong the life of your driveway.
Types of Driveway Sealers: Which One is Right for You?
There are several types of driveway sealers available, each with its own set of advantages and considerations. The most common types include coal tar sealers, asphalt emulsion sealers, acrylic sealers, and polymer-modified sealers. Understanding the differences between these options can help you choose the right one for your driveway.
Coal tar sealers are known for their durability and resistance to oil and gas spills. They provide a long-lasting protective layer and are relatively inexpensive. However, coal tar sealers have come under scrutiny for their potential environmental and health risks, leading some homeowners to seek alternative options.
Asphalt emulsion sealers are a more environmentally friendly choice. Made from asphalt and water, these sealers are less toxic and easier to apply. While they may not be as long-lasting as coal tar sealers, they still offer good protection against the elements and are a popular choice for many homeowners.
Acrylic sealers are another option, known for their quick-drying properties and resistance to UV rays. They provide a durable finish and are available in various colors, allowing homeowners to customize the appearance of their driveway. However, acrylic sealers tend to be more expensive and may require more frequent reapplication.
Polymer-modified sealers combine the benefits of traditional sealers with added polymers for enhanced durability and flexibility. These sealers are designed to provide superior protection against cracks and wear, making them an excellent choice for high-traffic driveways. While they may come at a higher cost, their long-lasting performance can be worth the investment.
The Driveway Sealing Process: Step-by-Step Guide
Sealing your driveway can be a rewarding DIY project if you follow the proper steps and take the time to prepare adequately. Here is a step-by-step guide to help you through the process:
Preparation: Begin by thoroughly cleaning your driveway. Remove any dirt, debris, and weeds from the surface. Use a power washer to eliminate stubborn stains and ensure the surface is clean and dry. Repair any cracks or potholes with appropriate filler material and allow it to cure completely before proceeding.
Protect Surrounding Areas: Use masking tape or plastic sheeting to protect adjacent surfaces, such as sidewalks, curbs, and garage doors, from accidental splashes of sealant. This will help you achieve a clean, professional finish and avoid any unwanted mess.
Mixing the Sealer: Follow the manufacturer's instructions for mixing the sealant. This may involve stirring the contents of the container or using a drill with a mixing attachment. Ensure the sealant is thoroughly mixed to achieve a consistent application.
Application: Begin by cutting in the edges of your driveway with a brush or roller. This ensures that the edges receive an even coat of sealant. Once the edges are done, use a squeegee or brush to apply the sealant to the rest of the driveway. Work in small sections, spreading the sealant evenly and avoiding puddles or thin spots.
Curing: Allow the sealant to dry and cure according to the manufacturer's instructions. This typically takes 24 to 48 hours, depending on the weather conditions. Avoid driving or walking on the sealed surface during this time to ensure a smooth, durable finish.
Final Inspection: Once the sealant has cured, inspect the driveway for any missed spots or uneven areas. Apply a second coat if necessary, following the same application process. A well-sealed driveway should have a uniform appearance and a smooth, protective finish.
Common Mistakes to Avoid When Sealing Your Driveway
While sealing your driveway can be a straightforward process, there are common mistakes that can compromise the effectiveness of the sealant and the overall appearance of your driveway. Here are some pitfalls to avoid:
Insufficient Cleaning: Failing to thoroughly clean your driveway before sealing can result in poor adhesion and an uneven finish. Take the time to remove all dirt, debris, and stains from the surface. A clean driveway ensures that the sealant can bond properly and provide optimal protection.
Ignoring Repairs: Sealing over cracks and potholes without addressing them first will not solve the underlying issues. Make sure to repair any damage before applying the sealant. This will ensure a smooth, even surface and prevent further deterioration.
Choosing the Wrong Sealer: Not all sealers are created equal, and choosing the wrong one for your driveway can lead to subpar results. Consider factors such as durability, environmental impact, and cost when selecting a sealer. Consult with a professional if you are unsure which type of sealer is best for your driveway.
Applying Too Thickly: Applying the sealant too thickly can lead to uneven drying and a blotchy appearance. Follow the manufacturer's instructions for the recommended application thickness. A thin, even coat is more effective than a thick, uneven one.
Sealing in Poor Weather: Weather conditions play a crucial role in the success of your sealing project. Avoid sealing during rainy or excessively humid days, as moisture can interfere with the curing process. Choose a dry, warm day for the best results.
Neglecting Maintenance: Sealing your driveway is not a one-time task. Regular maintenance, including reapplication every few years, is essential for long-term protection. Stay on top of your driveway's condition and address any issues promptly to keep it in top shape.
Cost of Driveway Sealing in Newmarket: What to Expect
The cost of driveway sealing in Newmarket can vary depending on several factors, including the size of your driveway, the type of sealant used, and whether you choose to hire a professional or do it yourself. On average, homeowners can expect to pay between $0.10 and $0.30 per square foot for driveway sealing, translating to approximately $100 to $300 for a typical two-car driveway.
DIY driveway sealing is generally more cost-effective, as you only need to purchase the sealant and any necessary tools. A 5-gallon bucket of sealant typically costs between $20 and $50, and this is usually enough to cover a standard driveway. However, keep in mind that DIY projects require time and effort, and the quality of the application may not match that of a professional.
Hiring a professional to seal your driveway can be more expensive, with costs ranging from $200 to $500 or more, depending on the size and condition of the driveway. Professional services often include cleaning, repairs, and application, ensuring a high-quality finish. While the upfront cost may be higher, the convenience and expertise of a professional can provide peace of mind and potentially better results.
It's important to obtain multiple quotes from reputable contractors to ensure you are getting a fair price for professional services. Additionally, consider the long-term savings of a well-sealed driveway, as regular maintenance can prevent costly repairs and extend the life of your pavement.
DIY vs. Professional Driveway Sealing: Pros and Cons
When it comes to sealing your driveway, you have the option to tackle the project yourself or hire a professional. Each approach has its own set of advantages and disadvantages, and the best choice depends on your specific needs, budget, and level of expertise.
DIY Driveway Sealing:
Pros:
Cost Savings: DIY projects can be more affordable, as you only need to purchase the sealant and any necessary tools. This can save you money, especially for smaller driveways.
Flexibility: You can complete the project on your own schedule, without having to coordinate with a contractor. This allows you to work at your own pace and make adjustments as needed.
Satisfaction: Completing a DIY project can be rewarding and provide a sense of accomplishment. It's an opportunity to take pride in maintaining your property.
Cons:
Time and Effort: Sealing a driveway requires significant time and physical effort. Cleaning, repairing, and applying the sealant can be labor-intensive, especially for larger driveways.
Quality: Without professional experience, achieving a smooth, even finish can be challenging. Mistakes in application can lead to subpar results and reduce the effectiveness of the sealant.
Limited Warranty: DIY projects typically do not come with warranties or guarantees. If the sealant fails prematurely, you will need to address the issue yourself.
Professional Driveway Sealing:
Pros:
Expertise: Professionals have the knowledge and experience to ensure a high-quality, durable finish. They can properly address any repairs and apply the sealant evenly for optimal protection.
Convenience: Hiring a professional saves you time and effort. You can relax while the job is completed efficiently and effectively.
Warranties: Many professional services offer warranties or guarantees on their work. This provides peace of mind, knowing that any issues will be addressed by the contractor.
Cons:
Cost: Professional services can be more expensive, with higher upfront costs. However, the long-term benefits of a well-sealed driveway may justify the investment.
Scheduling: You will need to coordinate with the contractor's schedule, which may require some flexibility on your part.
Less Control: While professionals aim to meet your expectations, you may have less control over the specific details and timing of the project.
Ultimately, the decision between DIY and professional driveway sealing depends on your budget, time, and desired level of involvement. Both options can provide effective results when done correctly.
Conclusion: Enhancing Your Home’s Curb Appeal with Sealed Driveways
Driveway sealing is a crucial aspect of home maintenance that offers numerous benefits, from protecting your investment to enhancing curb appeal. By understanding the importance of sealing, choosing the right type of sealer, and following the proper application process, you can ensure that your driveway remains in excellent condition for years to come.
Whether you decide to tackle the project yourself or hire a professional, the key is to stay proactive and address any issues promptly. Regular maintenance, including sealing every few years, will prevent costly repairs and extend the lifespan of your driveway. A well-sealed driveway not only looks great but also provides a safe, durable surface for your vehicles and foot traffic.
In Newmarket, where weather conditions can be particularly harsh, taking the time to seal your driveway is a smart investment in your property's longevity and appearance. By following this essential guide, you can protect your driveway from the elements, enhance your home's curb appeal, and enjoy the peace of mind that comes with a well-maintained exterior.
In conclusion, driveway sealing is more than just a cosmetic upgrade—it's a necessary step in preserving the integrity and value of your property. Embrace the process, whether through DIY efforts or professional services, and take pride in the pristine, inviting approach to your home.
